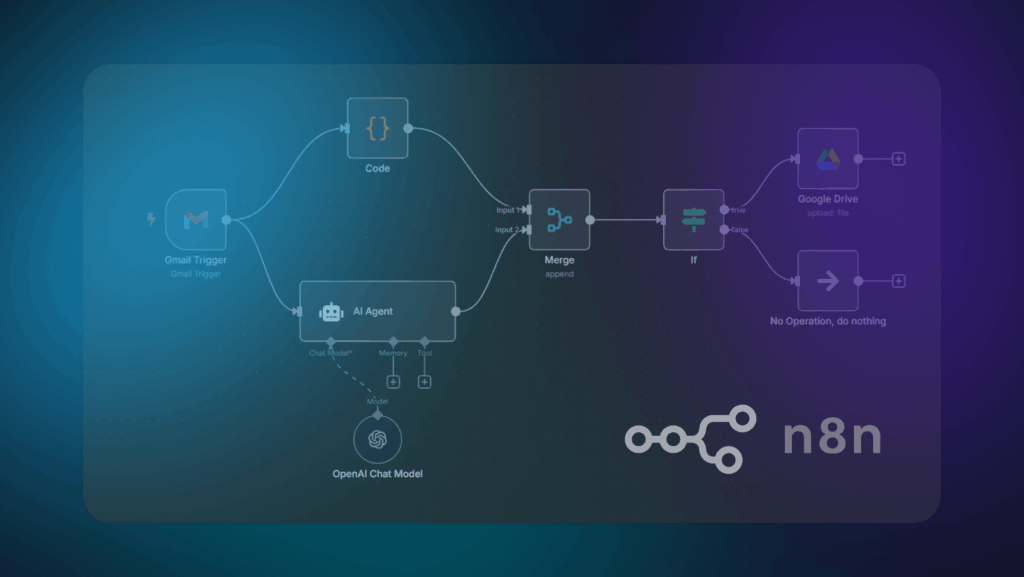
Creating smart, self-running workflows might sound like something only developers or tech teams can handle but with the right tools, it doesn’t have to be. That’s where n8n steps in. Designed to simplify complex processes, n8n makes it easy for anyone to build workflows that respond, react, and run on their own, all without diving into heavy code.
At its core, n8n is a powerful workflow automation platform that lets you connect a wide range of apps, services, and logic blocks. From syncing spreadsheets and sending notifications to transforming data and automating daily tasks, it puts full control in your hands.
Now, take that power a step further with agentic workflows, systems designed to do more than follow instructions. These workflows can act based on logic, make decisions, adapt to changing inputs, and trigger the next best action on their own. When paired with n8n, you get a lightweight but dynamic setup that lets your processes run smarter and faster.
In this beginner-friendly guide, we’ll show you how to plan, build, and automate agentic workflows using n8n—from the very first step to a working setup.
Understanding n8n: The Basics
What is n8n?
n8n (pronounced “n-eight-n”) stands for “Node plus Node.” It’s a tool that helps you automate tasks by connecting different apps and services—without needing to code everything from scratch.
It’s open-source, which means anyone can view and contribute to its code. It follows a fair-code licensing model, allowing people to use and modify it freely for personal or commercial use, but with some limits on creating competing services.
Think of it like a more flexible and developer-friendly alternative to tools like Zapier or Make. While Zapier and Make are great for simple automations, n8n gives you more control, customization options, and can be self-hosted (which means you can run it on your own server if you want).
Core Concepts in n8n for Agentic AI Workflows
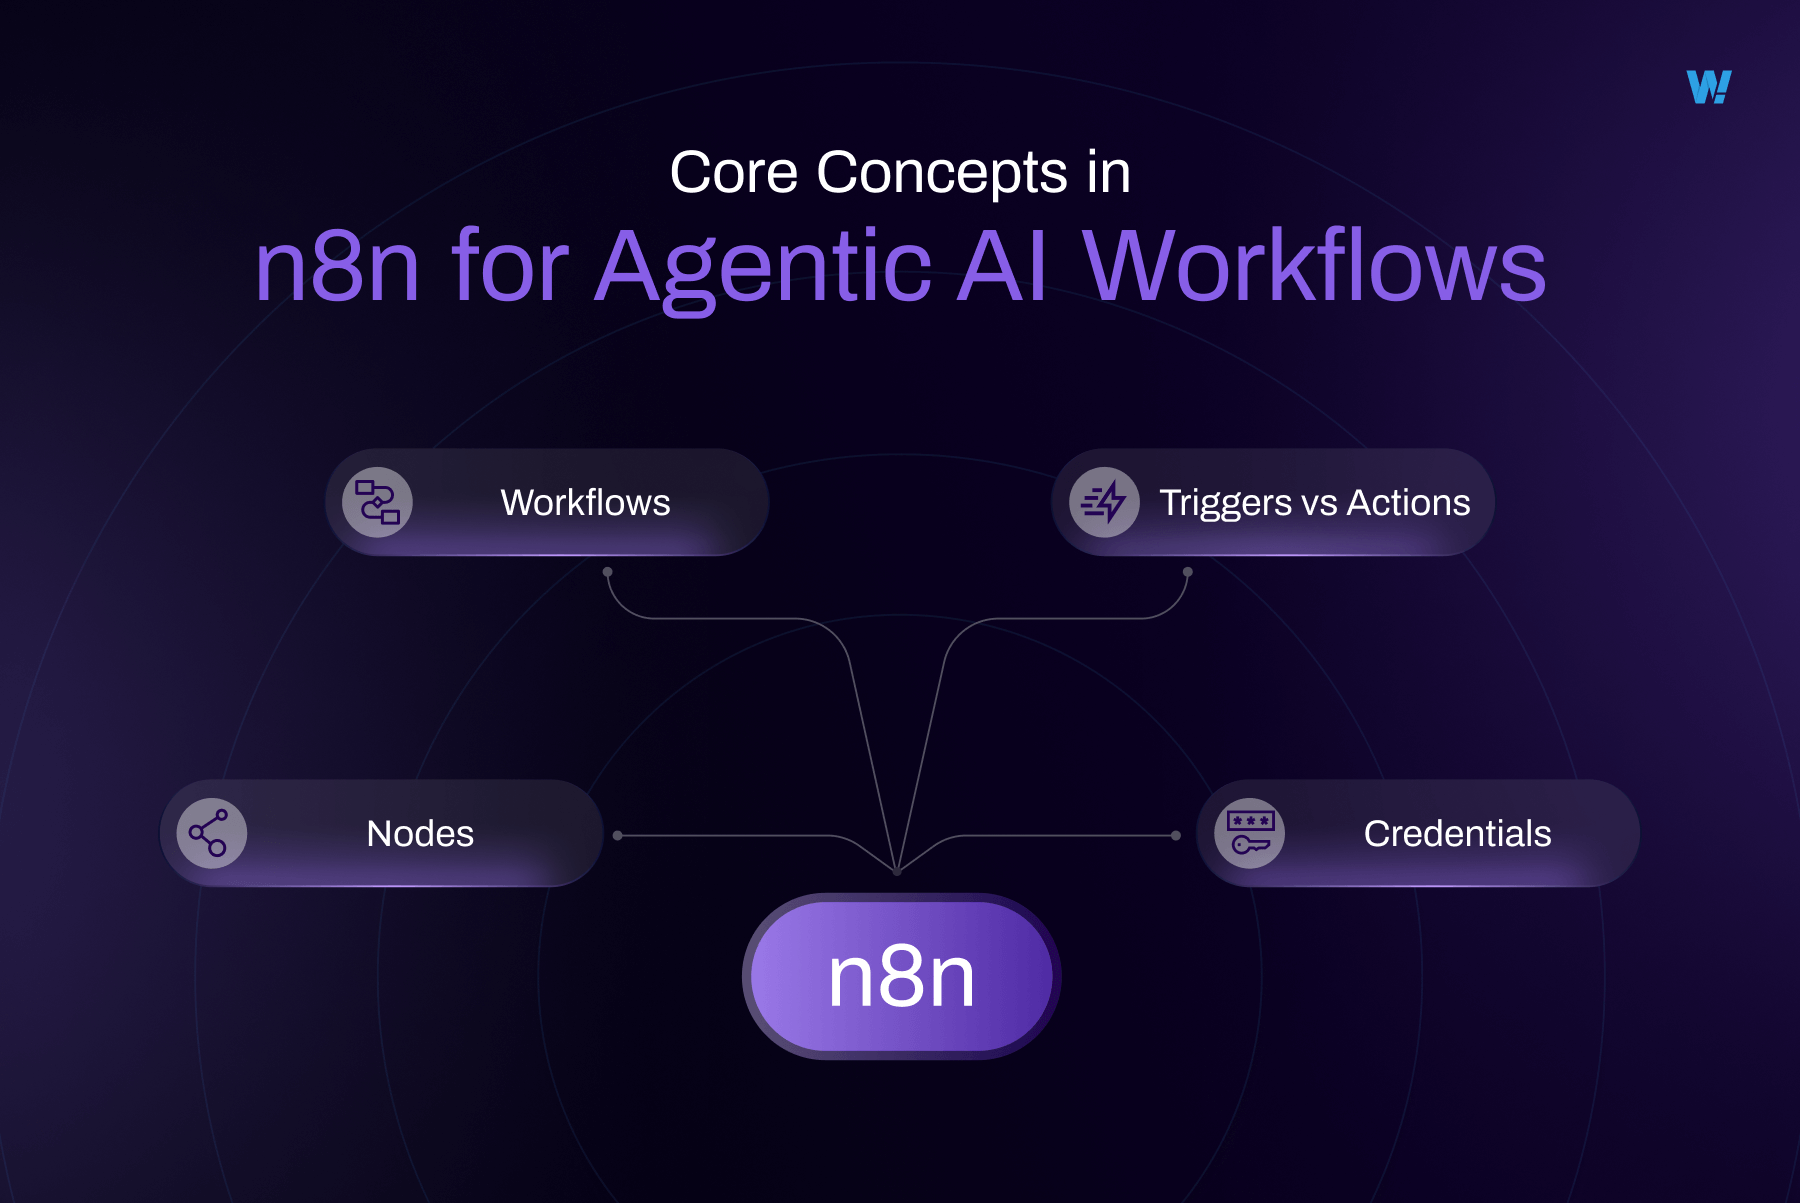
Let’s break down some important terms you’ll often see in n8n:
- Nodes:
A node is a single step in your automation. It could be something like “get emails from Gmail,” “send a Slack message,” or “wait for 1 hour.”
Imagine nodes as building blocks—you stack them together to create a full process.
- Workflows:
A workflow is a set of connected nodes. It’s the full automation that moves step-by-step from one task to another.
For example:
New form submitted ➝ Create a task in Trello ➝ Send a notification on Slack.
Each of these steps is a node; together they form a workflow.
- Triggers vs Actions:
Trigger = What starts the workflow. (Example: Someone fills a form.)
Action = What happens after the trigger. (Example: Send a welcome email.
- Credentials:
These are secure logins or tokens that n8n uses to connect to different apps like Google Sheets, Slack, or Notion.
n8n stores these safely, so you don’t have to re-enter them every time.
Where Can You Run n8n?
You can use n8n in two main ways:
1. Cloud Version
You sign up and use it on n8n’s official website—just like any online service. No setup needed. Great for beginners or quick testing.
2. Self-Hosted Version
You install n8n on your own server or computer. This gives you full control over how it works and stores data. It’s perfect if you care about privacy or want more customization.
Some simple terms to understand:
- Docker: A tool that lets you run apps in a “container”—like a mini-computer inside your computer. Makes setting up n8n easier.
- VPS (Virtual Private Server): A rented online computer (server) where you can run software like n8n. It’s like having your own private cloud.
Setting Up n8n from Scratch
You can start using n8n in two ways. The easiest is to use the n8n Cloud, which requires no setup.
Using n8n Cloud (Easiest for Beginners)
If you’re new to automation or just want to explore n8n quickly, the cloud version is your best bet. You don’t need to install anything.
Steps:
- Go to https://n8n.io
- Click on “Sign Up” and create an account (a free trial is available)
- Once logged in, you’ll land on the dashboard
Here’s a quick overview of what you’ll see:
- Workflows: List of all your automations
- New Workflow: A button to start building your first automation
- Credentials: Manage your app connections securely
- Executions: View logs of past workflow runs
- Settings: Update account preferences
This is the fastest way to get started, which is great for testing ideas or learning the basics.
First Login and Dashboard Overview
Whether you use the cloud or local version, you’ll see the same n8n dashboard. Here’s a quick tour to help you get familiar:
- New Workflow: Start your first automation
- Canvas Area: This is where you drag and connect nodes
- Left Sidebar: A library of all available nodes (like Gmail, Slack, Webhook, etc.)
- Top Bar: It is listed as below.
–Execute Node / Execute Workflow: Test individual steps or the whole workflow
–Save: Save your automation
–Settings: Change workflow name, tags, and more
With this setup complete, you’re now ready to build your first automation in n8n!
Building Your First Automation
Now that you’ve set up n8n, it’s time to create your first real automation. This is where the fun begins—turning repetitive tasks into smooth, hands-off workflows. In this section, we’ll go step-by-step through planning, building, and testing your very first automation using n8n.
Planning the Workflow
Before building anything, it’s important to take a few moments to plan what your Agentic AI should do. Think of it like sketching out a smart assistant’s tasks—what’s the goal, what steps are needed, and what should the final result look like.
Let’s take a practical and beginner-friendly example:
Use Case:
“When I get a new email in Gmail, have an AI agent analyze the email content, decide if it’s important, and save any attachments to a specific Google Drive folder if it meets the criteria.”
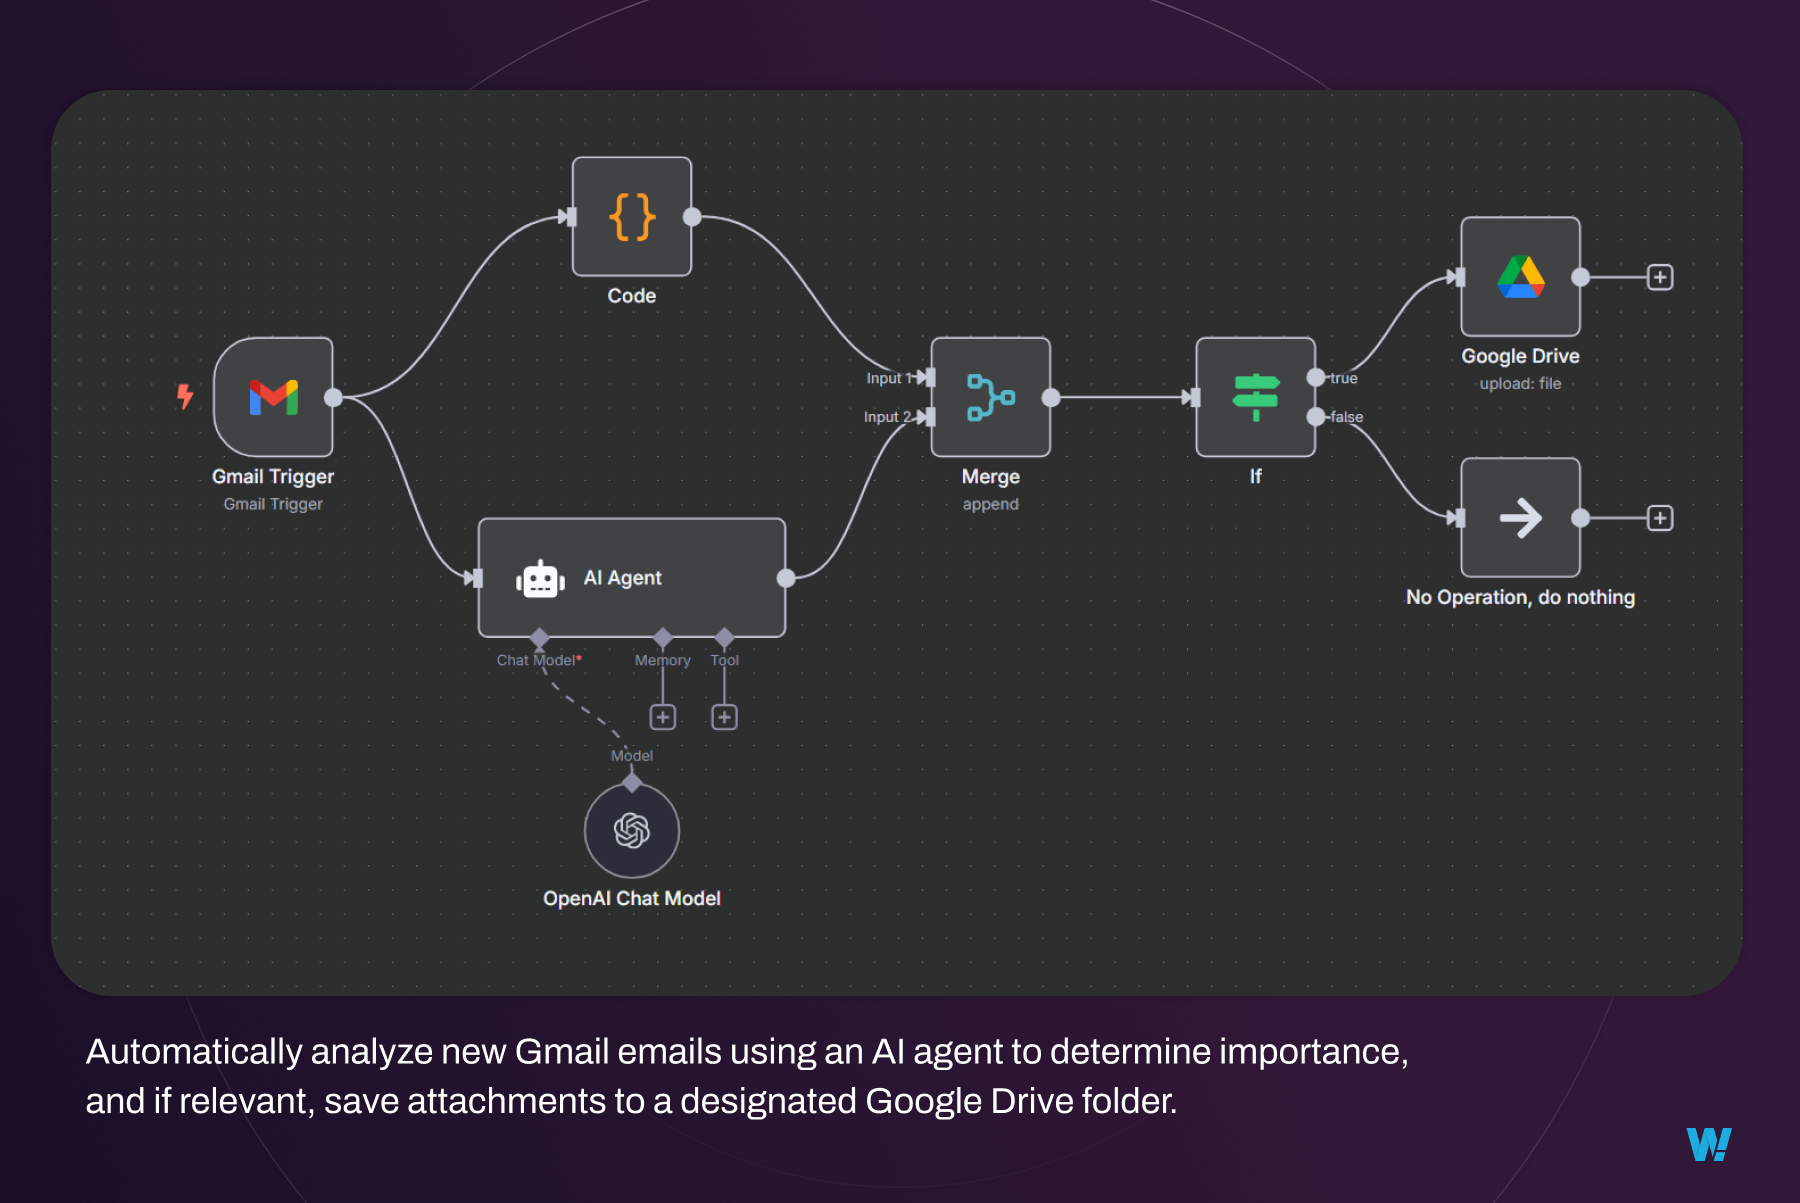
This use case is simple but powerful. It eliminates the need to manually review emails and decide where to store attachments, letting the AI make intelligent decisions for you.
To build this, you’ll need:
- A trigger: Something to initiate the workflow (in this case, a new email).
- An AI decision-making step: The AI evaluates the email’s content to determine its importance.
- An action: Save the attachment to Google Drive if the AI deems it relevant.
- Apps or tools involved: Gmail, an AI agent (like Grok or an AI service), and Google Drive.
Knowing this upfront helps you choose the right tools and configure the agent’s tasks correctly in the workflow builder.
Creating the Workflow
Once you’ve planned it out, it’s time to jump into an Agentic AI platform (e.g., a low-code AI workflow tool) and bring your intelligent automation to life.
Step 1: Start a New Workflow
Open your workflow platform’s dashboard and click on “New Workflow.” Name it something clear, like “Smart Email Attachment Handler,” so it’s easy to find later.
Step 2: Add a Trigger Node (Gmail)
Click the “+” button to add your first node. Search for Gmail and select the trigger node that listens for new emails. You’ll be prompted to connect your Gmail account:
- Click “Connect Credentials.”
- Log in to your Google account and grant the necessary permissions.
- Customize the trigger, such as filtering emails by sender, subject, or only those with attachments.
Step 3: Add an AI Decision Node
Next, add a node for your AI agent (e.g., Grok or another AI service). Choose an action like “Analyze Text” or “Classify Content.”
Configure the AI to:
- Connect to the AI service via credentials or API key.
- Analyze the email’s subject and body to determine if it’s important (e.g., based on keywords, urgency, or sender).
- Output a decision, such as “Important” or “Not Important,” which will guide the next step.
Most platforms allow you to visually map the email content from the Gmail node to the AI’s input, making this step intuitive.
Step 4: Add a Conditional Action Node (Google Drive)
If the AI determines the email is important, add a Google Drive node to save the attachment. Search for Google Drive and select an action like “Upload File.”
You’ll need to:
- Connect your Google Drive account through credentials.
- Select the destination folder for important attachments.
- Map the email attachment from the Gmail node to the upload step in Google Drive.
If the AI marks the email as “Not Important,” you can skip this step or route it to a different folder or action.
Step 5: Test the Nodes
Before going live, test the flow to ensure the AI makes accurate decisions and the actions work as expected.
- Send a test email to yourself with an attachment (try one that’s important, like a work document, and one that’s not, like a newsletter).
- In the platform, select the Gmail node and click “Execute Node” to confirm it detects the email.
- Run the AI node to verify it correctly classifies the email’s importance.
- Check the Google Drive node to ensure the attachment is uploaded to the right folder.
- You can also run the entire workflow manually using “Execute Workflow” from the top bar.
Step 6: Activate the Workflow
If everything works smoothly, click the “Activate” button in the top right. From now on, the AI agent will monitor your Gmail, analyze incoming emails, and save attachments automatically based on its decisions.
Running and Debugging
Creating Agentic AI workflows is just the start. You’ll often need to test and tweak them to ensure they perform as expected.
Manual vs. Automatic Execution
- Manual execution lets you test your workflow step-by-step, which is great when setting up a new AI-driven process.
- Automatic execution means the platform runs the workflow in the background whenever a new email arrives—no input needed from you. For your first few workflows, test manually to confirm the AI’s decisions and node connections are correct.
How to Test a Workflow
To test:
- Send a mix of test emails (some important, some not) with attachments.
- Go to your workflow in the platform and click “Execute Workflow.”
- Check if the AI correctly identifies important emails and if the files appear in the designated Google Drive folder.
- If something doesn’t work, don’t panic—errors are part of the process.
Error Handling: What to Do If Something Breaks
If a node fails, it will often highlight in red on the workflow canvas. Click it to see the error message. Common issues include:
- Incorrect credentials for Gmail or Google Drive.
- AI misclassifying emails due to unclear instructions or training data.
- Missing required fields (like file name or destination folder).
- The Gmail trigger not finding matching emails.
Fix the issue (e.g., refine the AI’s classification rules or check credentials), re-test the node, and activate the workflow once everything runs smoothly.
Exploring Common Use Cases
Now that you’ve seen how to build a workflow, you might be wondering, what else can I automate with n8n?
The answer: A lot.
From managing social media to streamlining customer support, n8n can handle repetitive tasks across all kinds of tools and platforms. We have put together some popular use cases that show how powerful (and practical) automation can be.
Final Thoughts: From Manual to Magical with n8n
If you’ve made it this far, congratulations, you’ve just scratched the surface of what’s possible with n8n. From understanding the basics to building your first intelligent automation, you now have the foundation to start turning everyday tasks into self-running systems.
You don’t need to be a developer to do it. With its user-friendly interface, open-source flexibility, and endless integration options, n8n empowers anyone to take control of their time and processes. As you continue your journey, remember automation isn’t about replacing human effort. It’s about amplifying it. So go ahead, experiment, build, break things (gently), and let your workflows do the heavy lifting.
When you’re ready to scale or bring Agentic intelligence into your systems, we’re here to help.
Let Agentic AI Labz be your partner in building smarter, scalable, AI-powered automations.

